We suggest you read through the instructions before you get started, and allow yourself time to source and upload the information needed. A nominated administrator from your business will be required to complete the steps below for each worker who needs Workforce Management.
User guides with screenshots can be found on the Help and Resources page.
LET’S GET STARTED
Step 1 > Login to add your workers
- Your Pegasus Workforce Account grants you access to the Kent Supplier Portal. From the Pegasus Workforce Access Gateway, select the Kent Portal to get started.
- Note: Supplier Administrators with an existing Pegasus Workforce Account can simply add the Kent Portal via Gateway.
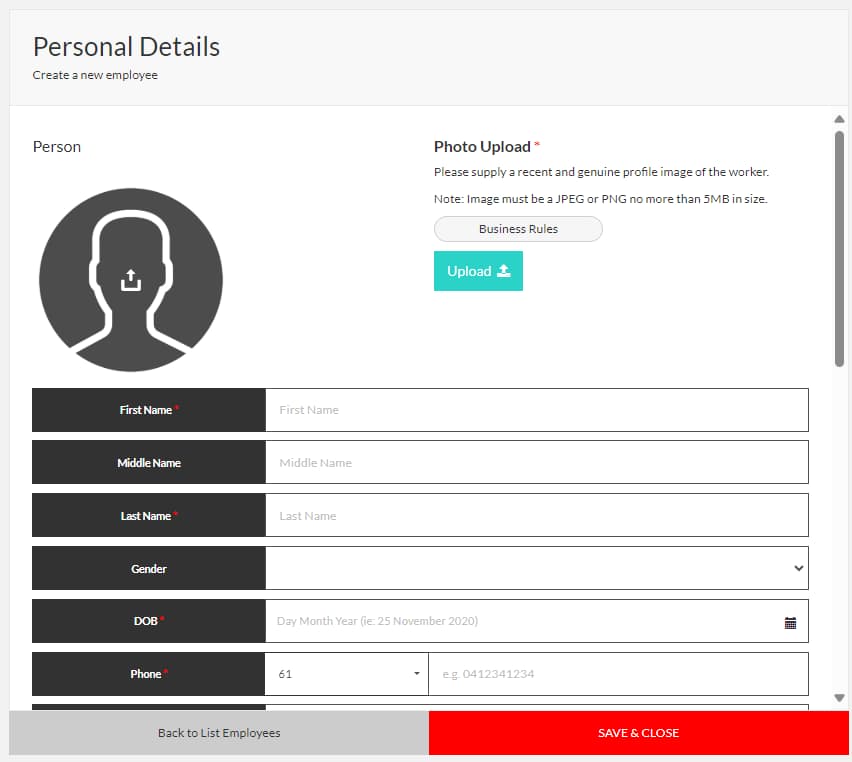
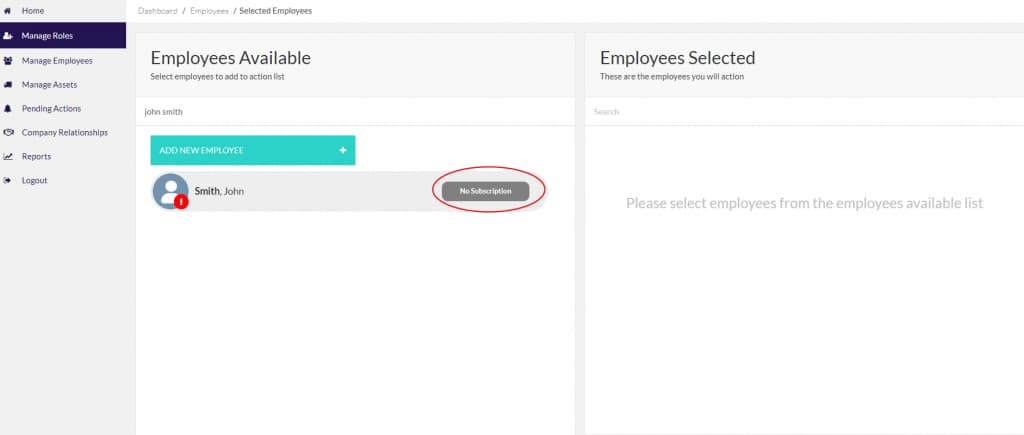
- Once logged into the Kent Supplier Portal, select Manage Roles and then Add New Employee to enter each worker’s details. Use each worker’s personal email address and mobile number, as they will receive important emails regarding expiring competencies and additional tools access which will assist them keeping them up to date and reducing administrative tasks.
If your worker already exists, simply click on their profile.
Step 2 > Select site(s) and roles
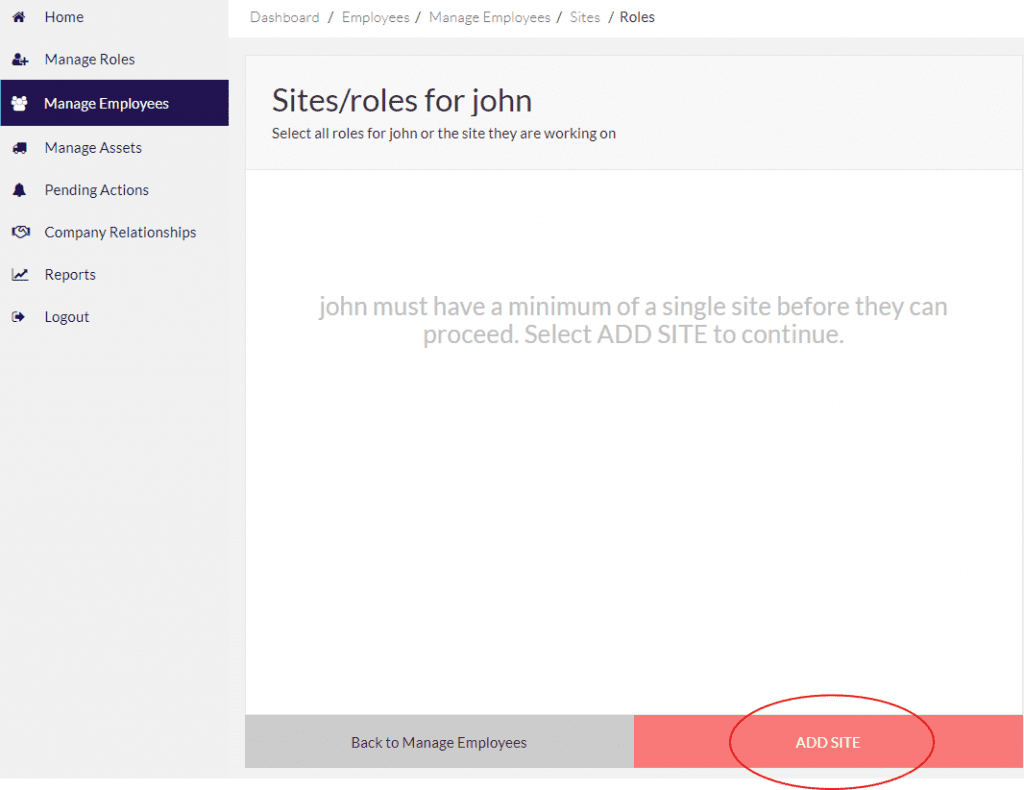
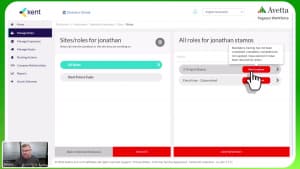
1. Select Add Site and choose the relevant Kent site(s) for your worker. Select only those that are currently applicable.
2. Select Add New Role and choose from the below:
1. Office Based – If worker is attending Brisbane or Perth Office sites
2. Project Based – If worker is attending the Future Fuels, QGC Or Telecoms Sites
Choose both if your worker will be accessing both types.
3. Next choose the role(s) that most suit the trade/tasks your worker will be performing while on site. Roles determine the work your employee can perform on site.
4. Multiple roles can be used as you can see below in the example for an electrician working at heights using a boom type EWP and confined space work for their scope. These roles will prompt the required competencies to work within the Kent WHS management systems.
EXAMPLE:
- Project Based: This will prompt a requirement for a white card, government ID, and medical declaration form.
- Select Trade: e.g. Electrician – QLD
- Add Extra Roles if Applicable:
- e.g. Confined Space – Entry
- e.g. Operator – Grader
- e.g. Operator – Boom-Type Elevating Work >11m (HRWL)
- e.g. Working at Heights Worker
Step 3 > Workforce by Avetta app (workers to download)
Communicate to your workers:
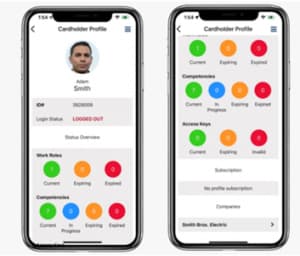
NOTE: Workers can also download the Workforce by Avetta mobile app to upload renewed documents themselves, such as driver’s licenses, certificates, etc. If this is communicated to your workers, this can reduce administrative time updating and renewing licences etc for each worker.
For more information about the app, please see the User Guide or take a look at this Short Instructional Video to see how to invite a worker to use the Workforce by Avetta mobile app.
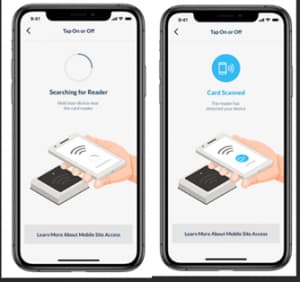
The QR code on the workforce by Avetta app can also be used to sign in and out – this can assist your company with timesheet reporting as well.
Step 4 > Upload documents
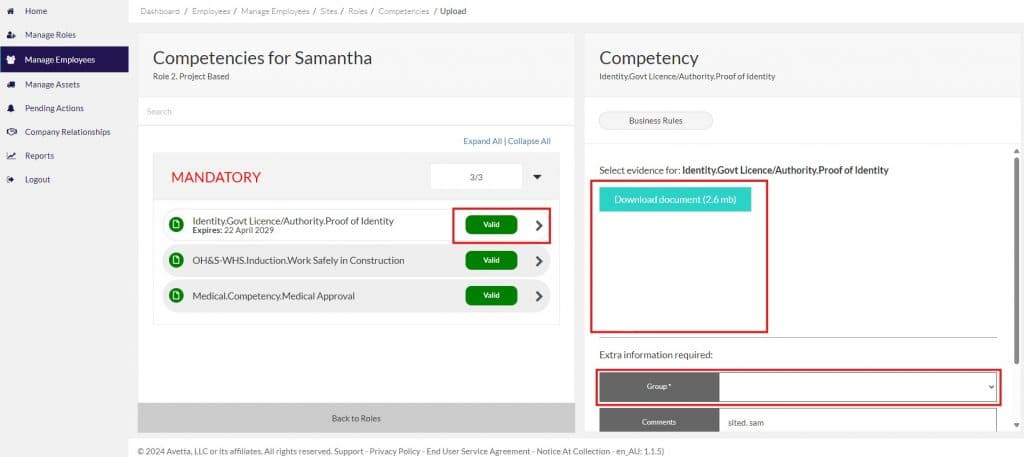
Your selections will determine the competency documents you’ll upload in the system to prove your worker can perform the chosen role(s). If you are unsure of what documentation must be uploaded or supplied, please view the Business Rules here.
Step 4 > Validation and Rejections
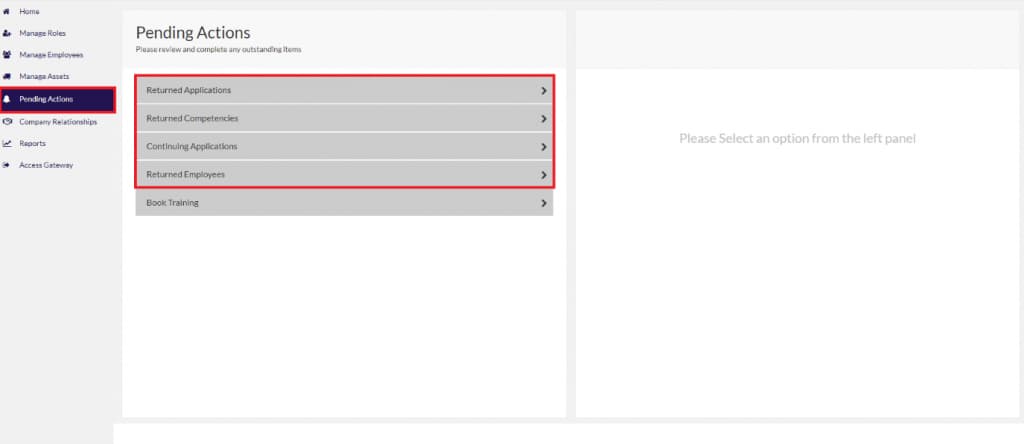
Avetta will validate the documents you’ve uploaded during registration. You’ll be emailed to update any required information. Upon document approval, the roles will be applied to your worker’s profile.
NOTE: Once all completed – Email confirmation that you have onboarded your people &/or Plant/Equipment to the following applicable people:
Training – People Compliance: Samantha.stenberg@kentplc.com
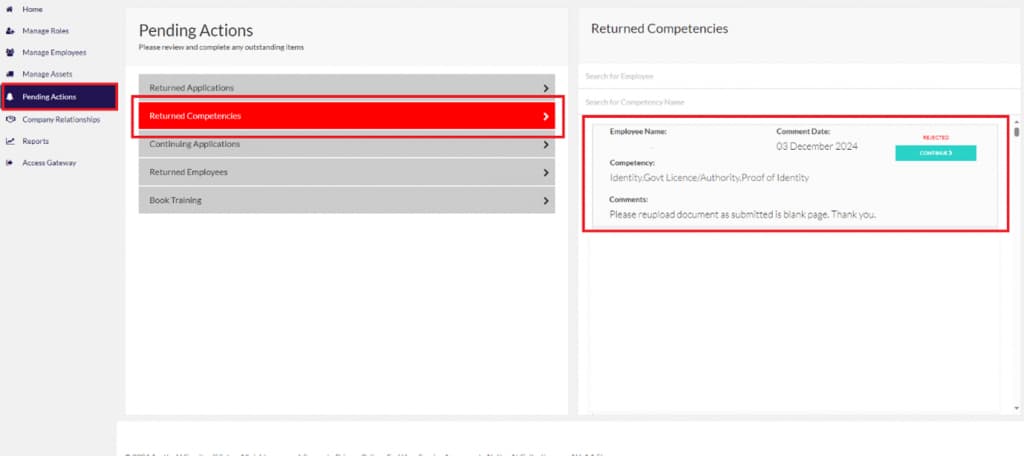
Avetta will validate the documents you’ve uploaded during registration. You’ll be emailed to update any required information. Upon document approval, the roles will be applied to your worker’s profile.

